Next to The Florida Mall in Orlando
407-747-3124
Waxing Technique Fundamentals Every Esthetician Should Know
TL;DR: Good waxing results come down to four things: correct skin prep, choosing the right wax for the area, applying it with the right pressure and direction, and removing it fast and flat. Get any one of those wrong and the client feels it. Get all four right consistently and they book again.
Waxing is one of the most requested services in any esthetics practice, and it looks deceptively simple from the client's chair. From the professional's side of the table, it is a skill that layers anatomy knowledge and product chemistry together, then builds manual technique on top of both. A small mistake in any of those layers shows up immediately as missed hair or broken skin. Either way, the result is a client who does not come back.
This post breaks down the core technique points that separate a clean, confident wax from one that causes problems. If you are in school now, use this as a framework for what your hands-on hours are building toward. If you are already licensed, use it as a checklist for the habits that are easy to let slip once you are busy.
Start With the Skin, Not the Wax
Every wax service begins before you open the wax pot. You need to look at the skin first.
Ask your client about recent retinoid use and prescription topicals, then separately confirm sun exposure history and any active skin conditions in the area. Retinoids (both prescription tretinoin and over-the-counter retinol) thin the epidermis and dramatically increase the risk of lifting skin during wax removal. The general professional guideline is a minimum five-day hold after using a retinoid, though many educators recommend longer. Accutane history is a full contraindication regardless of how long ago the client stopped the medication.
Once you have confirmed the area is safe to wax, prep the skin:
- Cleanse to remove surface oils, lotion, and sweat. Oil on the skin creates a barrier between the wax and the hair follicle.
- Dry completely. Wax does not bond well to damp skin, and moisture under hard wax can cause it to crack unevenly during removal.
- Apply a thin pre-wax powder or oil barrier where appropriate. Powder before hard wax helps it grip hair without gripping skin. A very light oil barrier before soft wax can protect sensitive skin, though this is technique-specific rather than universal.
Skin assessment is also covered in depth as part of what a Facial Specialist program teaches, because knowing how the skin behaves under different conditions applies across every service you will offer.
Hard Wax Versus Soft Wax: Choose by Area, Not by Preference
The two main wax categories used in professional practice are hard wax (also called stripless wax) and soft wax (used with a muslin or pellon strip). Choosing between them is not a personal preference call. It is a clinical decision based on the area and hair coarseness, with the client's skin sensitivity also playing a key role.
Hard wax shrinks as it cools and wraps around the hair shaft rather than adhering strongly to the skin. That makes it the standard choice for:
- Facial areas (upper lip, chin, brows)
- Underarms
- Bikini and Brazilian work
- Any area where the skin folds or the hair is coarse
Soft wax covers larger surfaces efficiently and is better suited for:
- Legs (full or half)
- Arms
- Back and chest
Soft wax should never be applied to the same section of skin twice in one appointment. It removes a layer of dead skin cells along with the hair, and going over an area a second time risks removing live skin. Hard wax is more forgiving in that regard, but repeated passes still stress the skin and should be minimized.
Wax temperature matters just as much as wax type. Test every application on the inside of your own wrist before it touches a client. The wax should feel warm, not hot. Inconsistent wax temperature is one of the most common causes of burns in the treatment room.
Application Direction and Pressure
This is where a lot of new technicians struggle, because the instinct is to slather wax on and pull. Controlled application is actually what makes removal work.
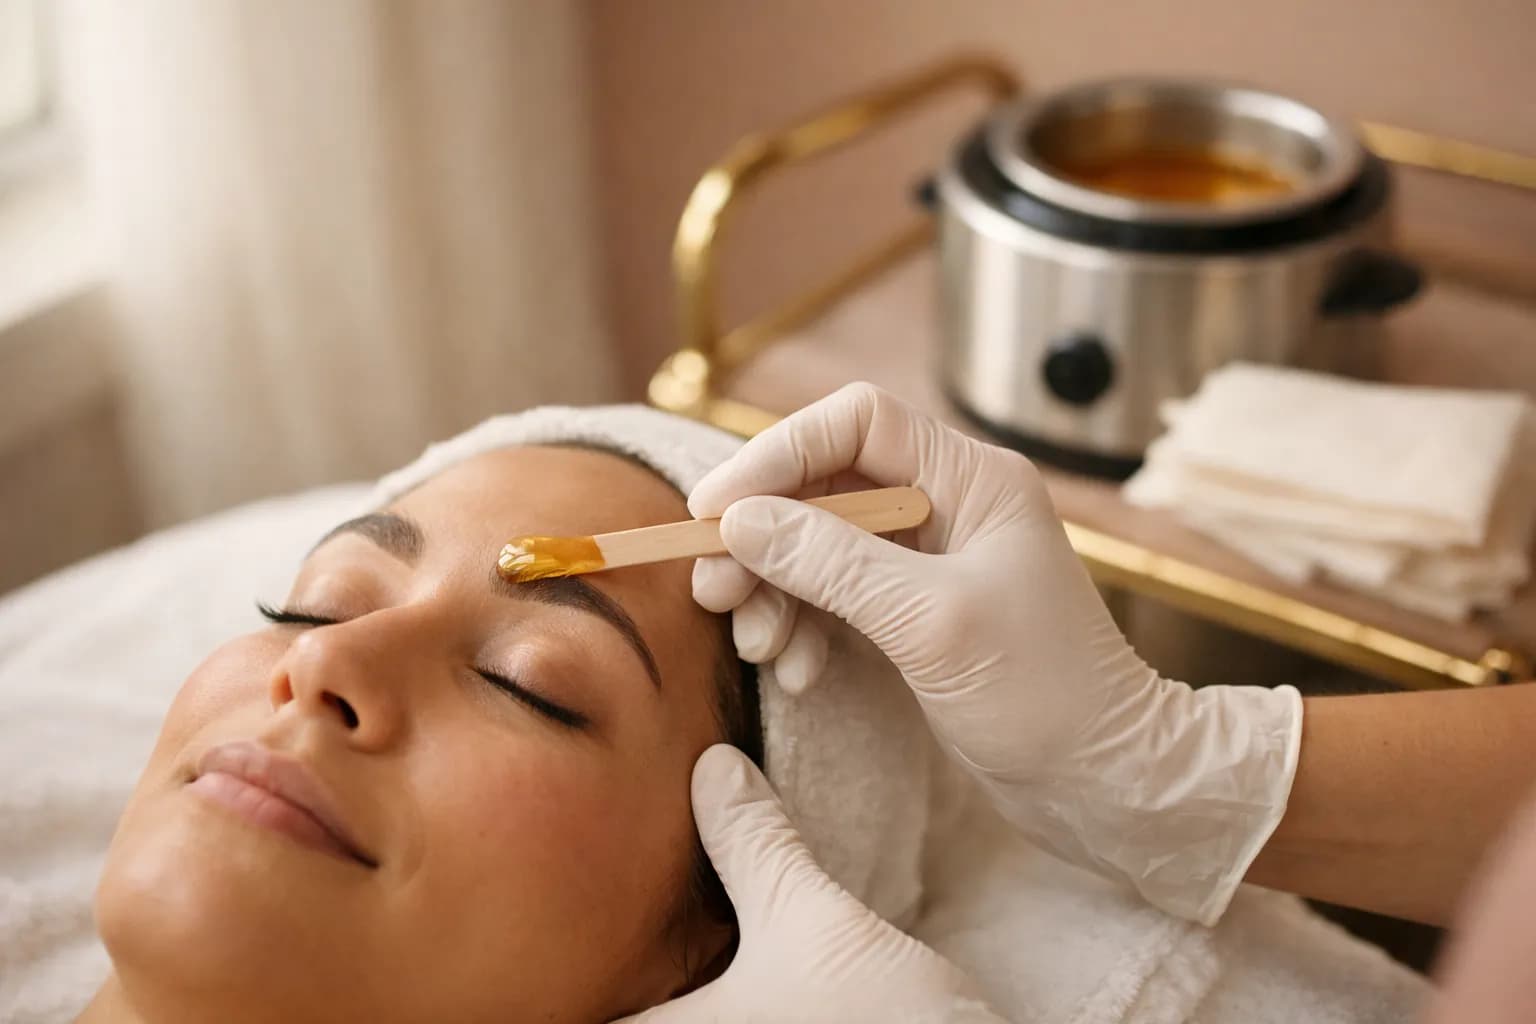
For soft wax, apply in the direction of hair growth using a firm, even stroke. The layer should be thin enough that you can almost see the skin beneath it. Thick applications pull unevenly and leave residue. They also cause strips to break. At the end of your stroke, finish with a small upward flick of the spatula so the wax has a clean edge to grip during removal.
For hard wax, apply slightly thicker (about the weight of a credit card) and still in the direction of hair growth. Then add a final pass against growth at the edges to create a lip you can hold during removal. Let it set until it loses its shine and feels firm but not brittle at the edges.
Pressure during application should be consistent. Pressing too hard drags the skin. Too light and the wax sits on top of the hair rather than gripping it at the base.
The Removal: Fast, Flat, and Held
Removal technique causes more client complaints than any other step. The physics are straightforward: you want to pull the wax (and hair) parallel to the skin's surface rather than up and away from it. Lifting the strip at an angle pulls the skin upward along with it, producing that sharp, tearing sensation. On sensitive skin, this also causes the bruising that follows.
The correct removal sequence:
- Hold the skin taut with your non-dominant hand, pulling in the opposite direction of your removal stroke.
- Grip the end or lip of the wax firmly.
- Remove in one quick, confident motion, close to the skin and opposite to the direction of hair growth.
- Immediately press your palm or fingers back onto the area. Direct pressure right after removal significantly reduces the sting.
Slow removal is almost always more painful than fast removal. Hesitation is a habit to unlearn early.
After you clear the area, check for residue and remove it with a wax remover or oil-based cleanser. Residue left on the skin traps bacteria and contributes to post-wax breakouts.
Aftercare Protects Your Work
What the client does in the 24 to 48 hours after a wax matters almost as much as the service itself. Freshly waxed skin has open follicles and is more reactive than usual. Give your client clear verbal and written instructions:
- No heat (saunas, hot showers, hot tubs) for 24 hours. Heat causes inflammation in already-stressed follicles.
- No tight clothing over waxed areas, especially after body waxing.
- No active exfoliants (AHAs, BHAs, scrubs) for at least 48 hours.
- Start gentle exfoliation two to three days after the service to prevent ingrown hairs as hair begins to regrow.
- Apply a soothing, fragrance-free product immediately after the service in the treatment room. Aloe vera gel or a post-wax calming lotion reduces redness and supports the skin barrier.
Ingrown hair prevention is something clients often ask about. The honest answer is that consistent exfoliation between appointments is the most effective tool. Proper removal technique (getting the hair out at the root rather than breaking it at the surface) also reduces the likelihood of ingrowns forming.
If you want to understand how waxing fits into a broader skin service menu, the post on why patch testing matters before facials and lash services is worth reading alongside this one, because the same principle applies to waxing: you need to know what is on and in the skin before you do anything to it.
For context on what clients are choosing between when they want longer-term hair removal, the breakdown of who electrolysis and laser hair removal each suit is a useful companion read. Waxing is temporary and requires repeat visits. Permanent methods have different contraindications and require their own specialized training and licensing in Florida.
FAQ
What direction should wax be applied and removed? Apply wax in the direction of hair growth so it coats the hair shaft fully from root to tip. Remove in the opposite direction, keeping the strip or wax edge close and parallel to the skin. Going against growth on removal helps the hair release cleanly at the follicle.
Can you wax over the same area twice in one appointment? With hard wax, a second pass over an area that still has hair is sometimes done carefully, but it should be the exception. With soft wax, you should never go over the same section twice. Repeated passes with either product increase the risk of skin irritation and lifting.
What skin conditions are contraindications for waxing? Active acne or pustules in the area should prompt you to skip a wax service. Open wounds or abrasions are an equally firm reason to avoid treatment. Sunburned skin and eczema or psoriasis flare-ups in the wax zone are important reasons to pause, and current use of retinoids or Accutane requires the same level of caution. When in doubt, postpone the appointment rather than risk skin damage.
Does a Florida Facial Specialist license allow you to perform waxing? Yes. Waxing is within the Florida Facial Specialist scope of practice. The Facial Specialist program covers waxing technique as part of its state-approved 220-hour curriculum. After passing the program's required testing and applying to the Florida DBPR (Department of Business and Professional Regulation), graduates are licensed to offer waxing as part of their esthetics services.